


A leaky tap is not only annoying but can also waste hundreds of litres of water each year and increase your water bill. Fortunately, most leaks can be fixed quickly with a few simple tools and some basic DIY know-how. In this guide, we’ll walk you through the steps to fix a leaky tap, whether it’s a compression, ceramic disk, or cartridge tap.
Tools and Materials You’ll Need
Before starting, gather the following items:
- Adjustable wrench or spanner
- Screwdrivers (flathead and Phillips)
- Replacement washers or O-rings (specific to your tap type)
- Plumber’s grease
- Cloth or small container to catch water
Having the right tools handy makes the repair smoother and avoids accidental damage to your tap.
Step 1: Turn Off the Water Supply
Always start by shutting off the water supply to the tap. Look for the isolation valves under the sink and turn them clockwise to close. Open the tap afterwards to drain any remaining water — this prevents spills during disassembly.
Step 2: Remove the Tap Handle
Locate the screw securing the handle — it may be hidden under a decorative cap. Use a screwdriver to remove it and carefully lift the handle off. For lever handles, you may need to gently wiggle it loose. Keep all screws safe as you’ll need them for reassembly.
Step 3: Inspect the Cartridge or Washer
Different taps have different mechanisms:
- Compression taps: Check the washer at the base of the tap spindle. Worn or cracked washers are the most common cause of leaks.
- Cartridge taps: Remove the cartridge and look for damaged O-rings or seals.
- Ceramic disk taps: Inspect the ceramic disk for chips or misalignment.
Replacing the faulty part is usually enough to stop the leak.
Step 4: Replace the Washer, O-Ring, or Cartridge
Take the damaged washer or O-ring to a hardware store to ensure you get the exact replacement. Apply plumber’s grease to the new O-ring or washer before installing to ensure a snug fit and prevent future leaks. Reinsert the cartridge or washer into the tap body, making sure everything sits properly in place.
Step 5: Reassemble and Test
Carefully reattach the tap handle and secure it with the screws. Turn the water supply back on slowly and open the tap to test. Check for leaks around the base and handle. If the leak persists, ensure all parts are seated correctly, or consider consulting a plumber if the issue is more complex.
Conclusion
Fixing a leaky tap is a straightforward DIY task that can save water and prevent damage to your bathroom over time. By following these steps — turning off the water, inspecting the mechanism, replacing faulty washers or O-rings, and reassembling — most leaks can be resolved quickly. Maintaining your taps regularly also extends their lifespan and keeps your bathroom running smoothly.
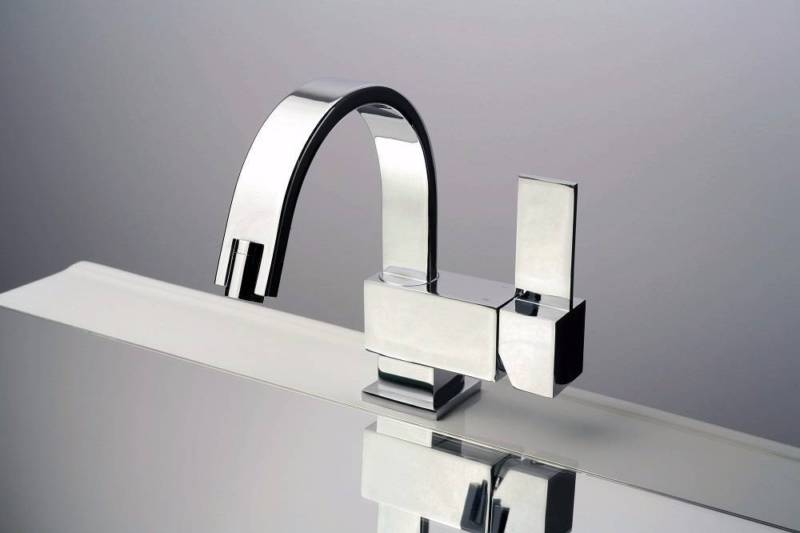
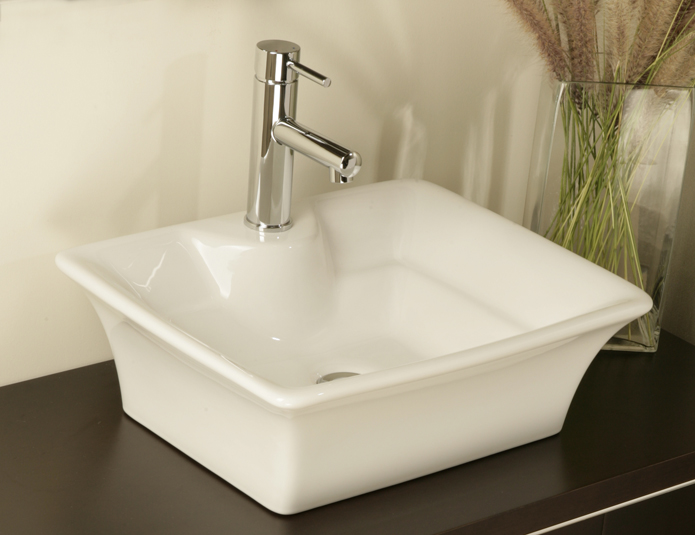
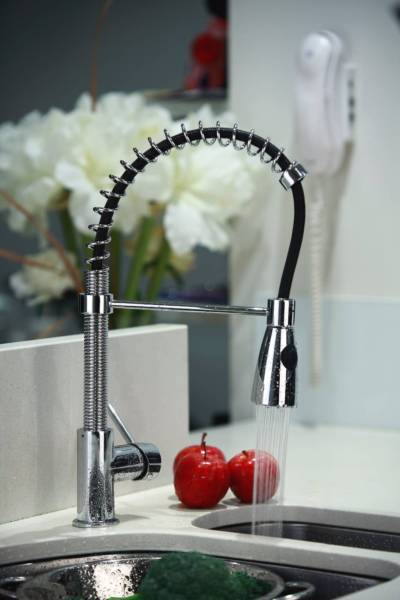
At Cargo Vanities, we offer a wide range of high-quality tapware designed for durability and easy maintenance. Browse our tapware collection to find stylish and reliable options for your home.