


Installing a new kitchen sink may feel intimidating, but with the right preparation and tools, it’s a project you can handle on your own. Whether you’re upgrading your kitchen or replacing an old sink, having a clear installation plan saves time, money, and unnecessary stress. This guide explains everything you should know before you start your DIY kitchen sink installation.
1. Gather the Right Tools and Materials
Before you begin, make sure you have the essential tools ready. This prevents interruptions and helps the installation go smoothly. You will typically need:
- Adjustable wrench
- Plumber’s putty or silicone sealant
- Bucket and towels
- Pipe tape
- Jigsaw (if modifying the benchtop)
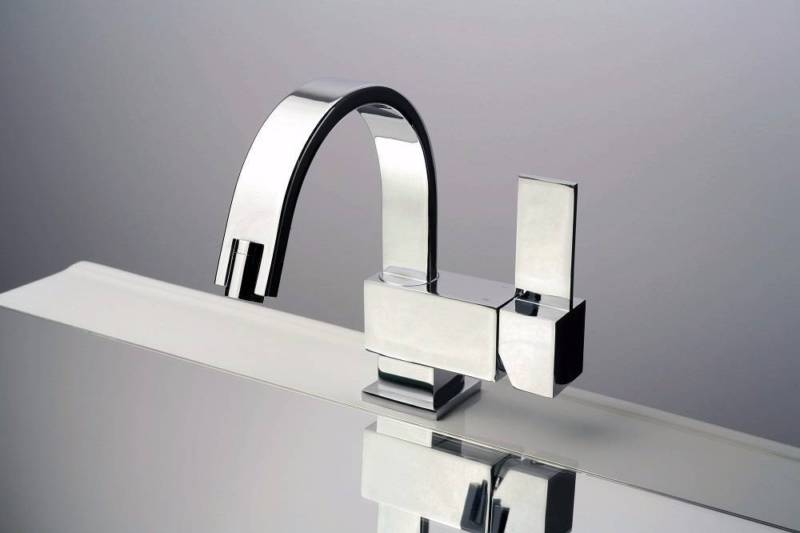
- New sink and kitchen tapware
If your sink is an undermount or farmhouse style, extra brackets or mounting systems may be required. Always check the manufacturer’s instructions that come with your sink.
2. Remove the Old Sink Safely
Start by turning off the water supply to avoid any leaks. Open the tap to release remaining water pressure. Place a bucket under the plumbing connections and disconnect the water lines, trap, and waste pipes.
Next, loosen the clips or screws holding the sink in place. If the sink is sealed with silicone, gently cut through the seal using a utility knife. Lift the sink out carefully, ensuring you don’t damage the benchtop.
3. Prepare the Benchtop Opening
The opening in your benchtop must match the size and style of the new sink. Measure the cut-out area and confirm it aligns with the sink’s template. If adjustments are needed, use a jigsaw to widen the opening.
After shaping the cut-out, clean the edges and remove leftover debris. This step ensures the sink sits flush and seals properly when installed.
4. Install the New Kitchen Sink
Before placing the sink, apply a thin line of silicone sealant around the edges of the cut-out. This prevents water from seeping underneath once the sink is in use.
Lower the sink carefully into position. For undermount sinks, secure the brackets tightly beneath the benchtop. For top-mount sinks, make sure the lip sits evenly on the surface.
Once the sink is positioned, wipe away excess sealant and allow it to cure as per the product instructions.
5. Connect the Plumbing
Reconnect the waste pipes, trap, and water supply lines. Use pipe tape on threaded joints to reduce the risk of leaks. Once everything is secure, turn on the water and check for drips or slow leaks around joints and seals.
If you’re installing new tapware, it’s best to fit it before securing the sink completely, as this gives you more room to work underneath.
6. Helpful Tips to Avoid Common Mistakes
- Don’t rush sealant curing time. Let it dry fully before using the sink.
- Double-check measurements. Even a small misalignment affects stability.
- Test for leaks early. Catching issues now saves future damage.
- Support heavy sinks properly. Some materials like granite composite require extra reinforcement.
Following these steps ensures your sink installation lasts for years without issues.
Conclusion
DIY kitchen sink installation is manageable if you take your time, prepare well, and follow each step carefully. A correctly installed sink improves your kitchen’s function and appearance instantly. For quality kitchen sinks, tapware, and accessories, explore the range at Cargo Vanities and find products designed for Australian homes.